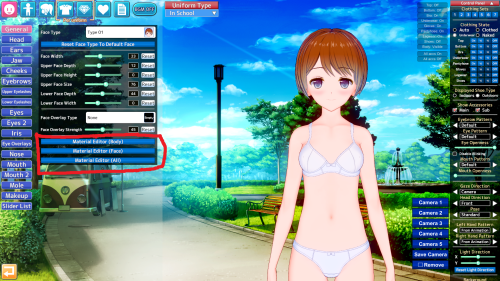
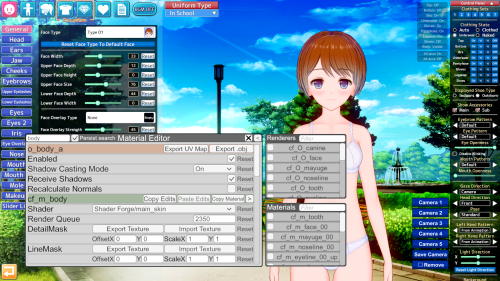
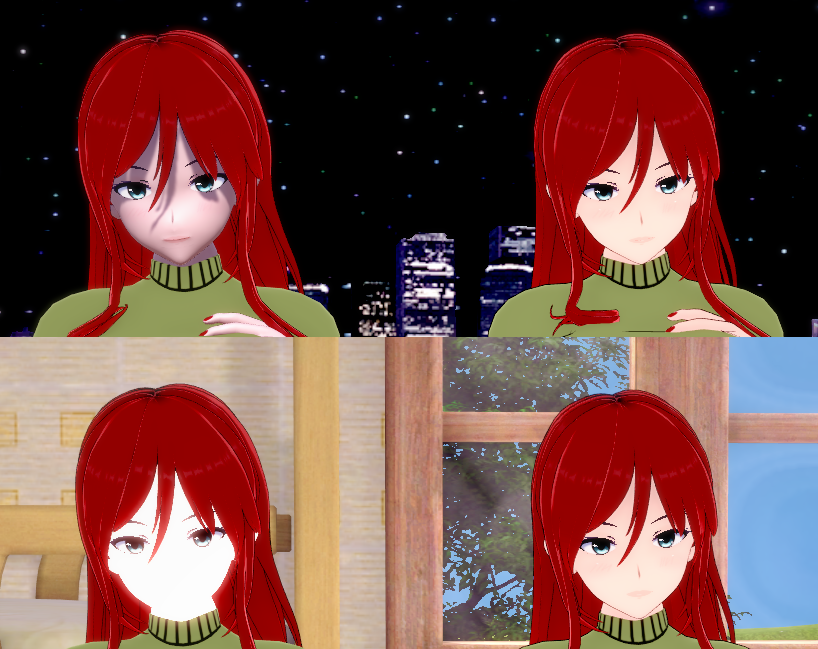
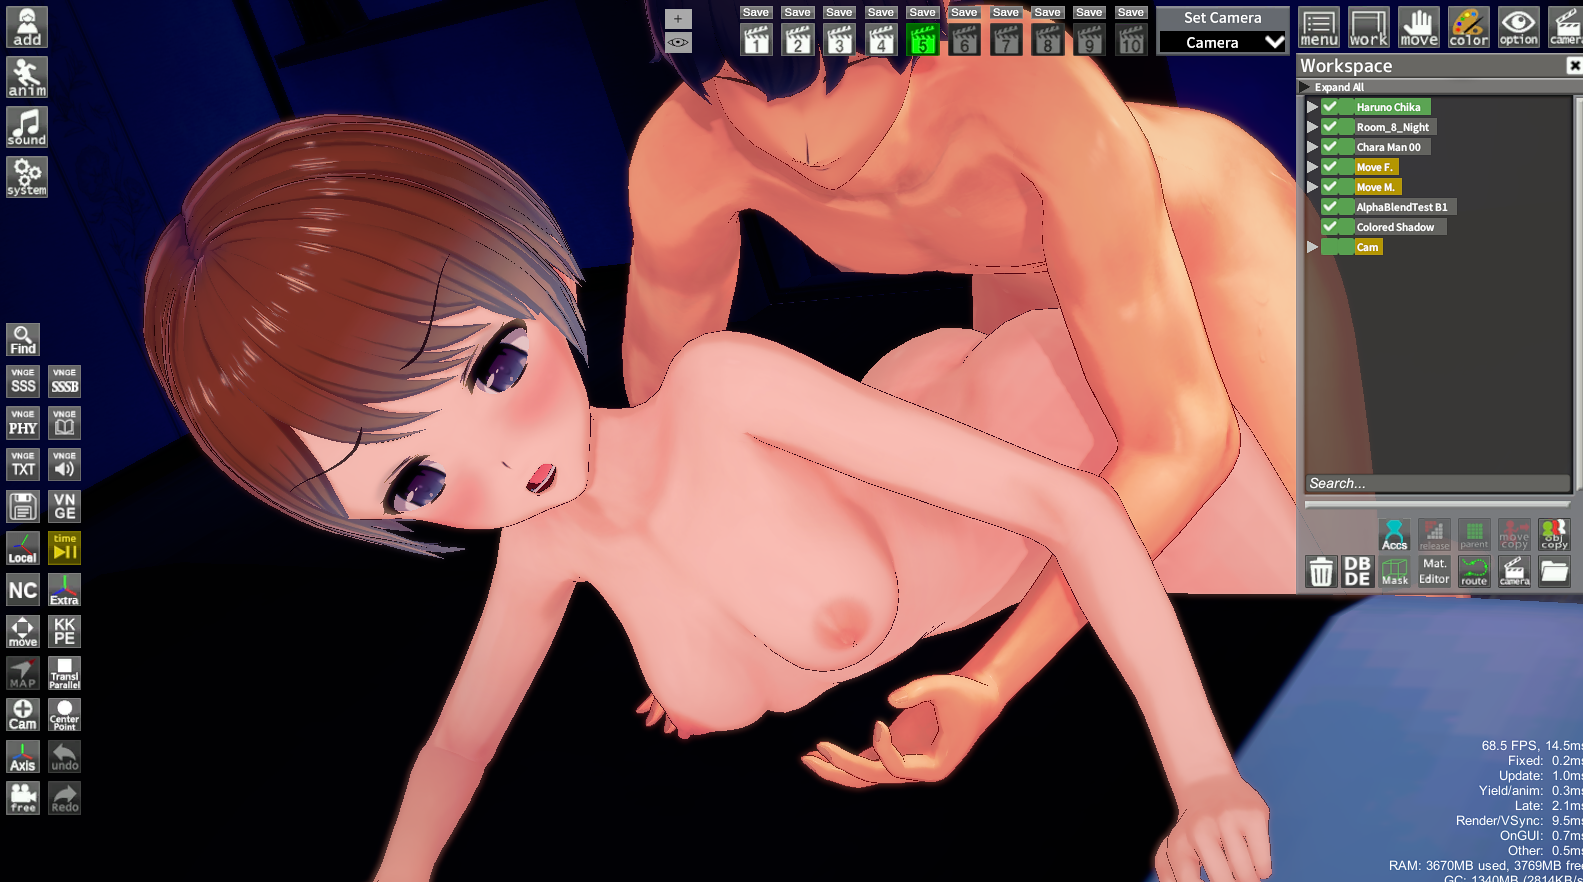
Thank you for your response. Unfortunately, I’m currently unable to use Discord (it’s banned in my country and I have to use a VPN, so sometimes messages don’t appear). I have a question for you. I changed the shaders in the example you provided to KKUSS. To compare, I saved the same character again with a different shader (xukmi). The character with the KKUSS shader looks great on some maps, but on certain maps, it inexplicably appears too bright or overexposed. I’ve tried turning off the lights in the map through the Workspace, but it doesn’t help. Do you know how to make the character consistently appear like the example above?
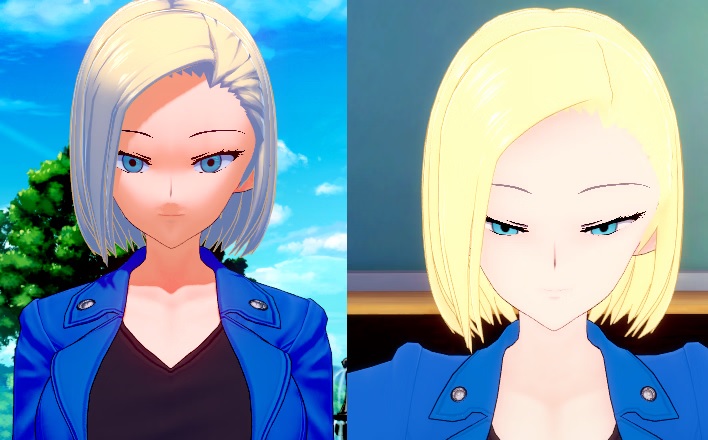
I also have a second question. The outline of the character with the KKUSS shader is unfortunately unclear. I maxed out the outline thickness in the Scene Effects, but it didn’t fix the issue. I hope my questions aren’t bothering you.
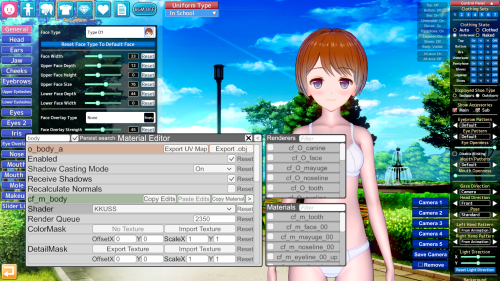
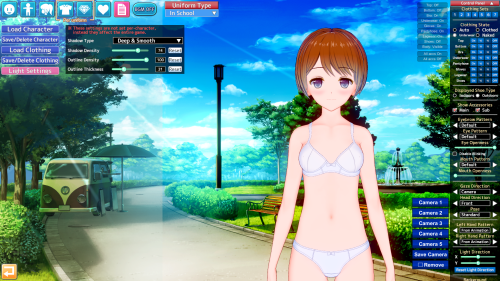
Not him, but KKUS/KKUTS shaders are lit entirely from the "Character Lighting" menu. These shaders are ALMOST completely unaffected from added environment lights. They are also largely unaffected by chosen shadow types in "Scene Effects".
These shaders appear too bright or too dark when added to random scenes because those scenes are saved with particular lighting settings, in addition to loads of other things like post processing effects and outline settings.
To keep your KKUS/KKUTS characters lit consistently, you need to make a "scene preset." Start with an empty scene. Add your character which contains the shaders. Adjust character lighting, post-processing effects, scene effect LUTs, etc to your liking, then save the scene.
When you load up a scene you intend to add this character into, you'll want to merge your "scene preset" into it. You can do this by opening the scene you wanna replace characters in, then load a scene. Select your preset scene, then click "import". This will replace all the lighting settings and such with the ones utilized by your preset.
The downside to this is some scenes will utilize specific LUTs, fog settings, Post Processing Effects, etc that will give it a particular color appearance, but those options won't really effect overall lighting, just the color correction of the scene. So doing this will overwrite those with the ones coming from the merged scene.
You can fix this by documenting what LUT settings (under Scene Effects) and light colors (in Character Lighting) were originally used, BEFORE you merge, and switch them back to what they were after the merge. You can also save the Post-Processing Effects used as a preset (search "Save_PostProcessingEffects" in F1 menu to bind this to a shortcut).
The final steps would look something like this:
- Load scene you want to fuck around with
- take note of LUTs and lighting colors in Scene Effects and Character Lighting
- Save a post processing preset for the scene
- Import your generic lighting scene
- Switch LUTs and lighting colors back to their original ones
- Load the post-processing preset you made before you imported your scene
Doing this SHOULD give you the most consistent lighting results, while also maintaining the intended color corrections used by the scene author.
In regards to outlines, there are a few different ways this can be achieved. Outlines can be made/altered the following three ways:
- Outline settings from "Scene Effects" (density, thickness)
- Outline settings for a specific material on a character (shader dependent)
- SobelColorOutline from Post Processing Effects
Typically, you can adjust most outline settings in Scene Effects. If you are seeing not much of a difference when doing this, that character MOST LIKELY has specific Outline settings and texture maps purpose built for outlines on one or more materials, and this would be entirely dependent on the shaders used for those materials as not every one is capable of doing anything with outlines.
I have found SobelColorOutline in Post Processing Effects to be quite good at getting a quick and dirty outline if I do not feel like dicking around with deconstructing a dozen different materials to figure out how their outlines are being produced so I can tweak them more finely.
EDIT
Something totally worth mentioning here is Studio will ALWAYS look different than Maker. Maker does not fully support PostProcessingEffects, so a majority of the time you will get differently lit/color corrected characters when using them in the Studio.
For this reason, I pretty much only use Maker for body/face/outfit creation, and perform all material tweaks in Studio, export the character once I've got the materials all dialed in the way I like, then run it back through Maker for a final save.